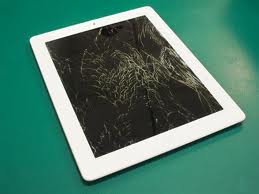
In Easy Steps: How to replace a broken front panel of iPad 2 and the third-generation iPad – Part 3
Sunday, July 8th, 2012 4:53:17 by Usman Khalid
Now remove the home button contact from the screen with the screw driver. The bracket however, comes off in the same way as the screen itself, with the hair dryer/heat gun and a sharp tool. The camera plate comes off in the similar manner.
Also remove any patches of the adhesive material still attached to the metal plate of the device. This is important as due to the thin structure of the device; any such material left on the metal case might leave a bulge in the new panel.
Bring in the new panel and attach the home button and the camera plate to it in the reverse order of detaching it, but first apply the double-sided tape to them.
Reconnect the digitizer cable and lock it by flipping down the locks on its front.
Before folding the panel do not forget to attach the LCD with the device again by securing it with screws.
Fold the new panel on device but do not attach it. This step is done to see if the new screen is working properly with the device. If it is, then follow the next step.
The new front panel must have the adhesive material attached to it but if not, apply the double-sided tape strips as it was done to the camera plate and home button.
However, before doing so please, carefully clean the LCD with a cotton wad or a blower. Do not touch the LCD as it may leave a smudge or damage the screen.
Fix the screen on the device and let it cool down for some time to strengthen the adhesive.
This is a do-it-yourself task. However, before doing so please refer to Apple Centre or your device’s Apple Care + warranty card to make it sure that the device is not under any kind of warranty, because performing it yourself will void the guarantee agreement between the company and your device.
Tags: 3rd, broken screen, fix, front panel, ipad, ipad 2, LCD, third generationShort URL: https://www.newspakistan.pk/?p=28463


This makes no sense. Something’s missing at the beginning as you don’t just start out “Now remove the home button contact from the screen with the screw driver.” Where’s the rest of it and where do we get the supplies?
Thanks
Dear JC,
Everything is inside. Please make sure that you have read all three parts of this article.
Regards,
Usman.